|
SP Swing Away Fitting Instructions JWP4005 SP Swing Away Arm Instructions JWP4005
Updated with more pics of individual components. Features
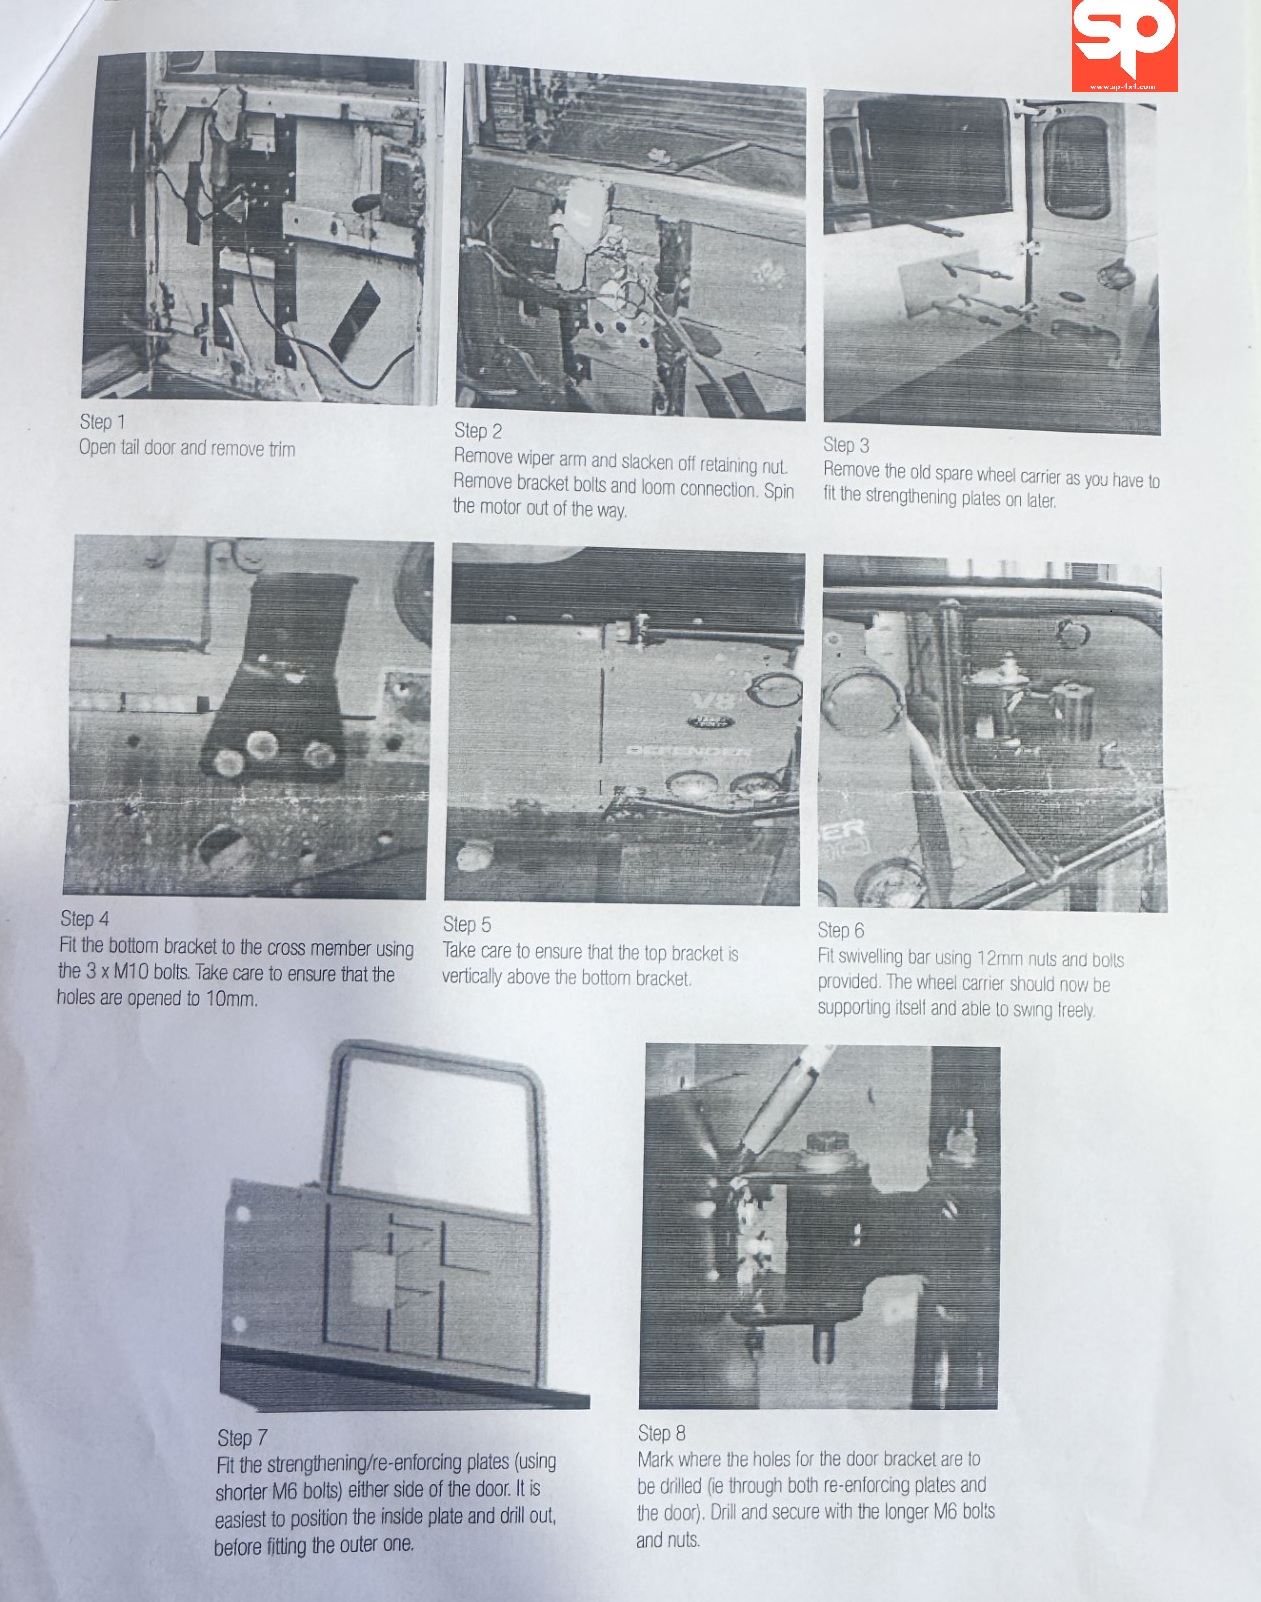
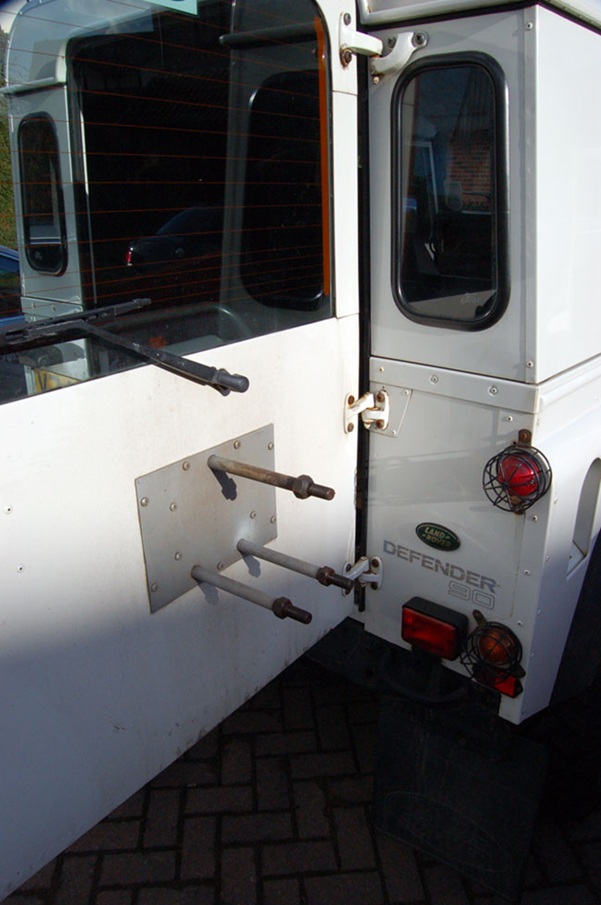
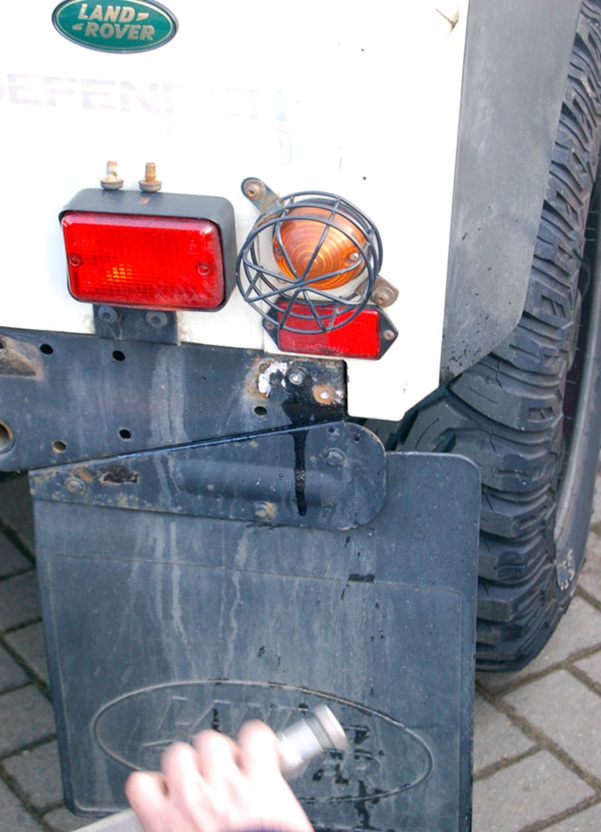
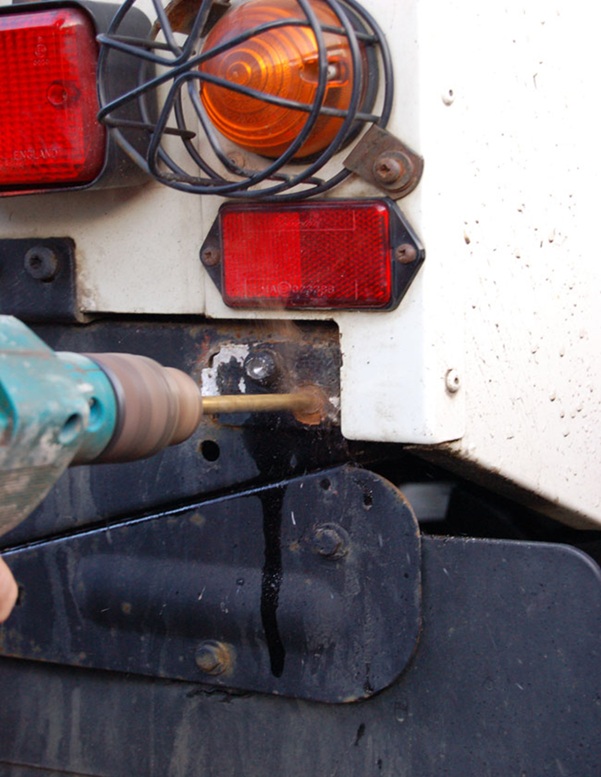
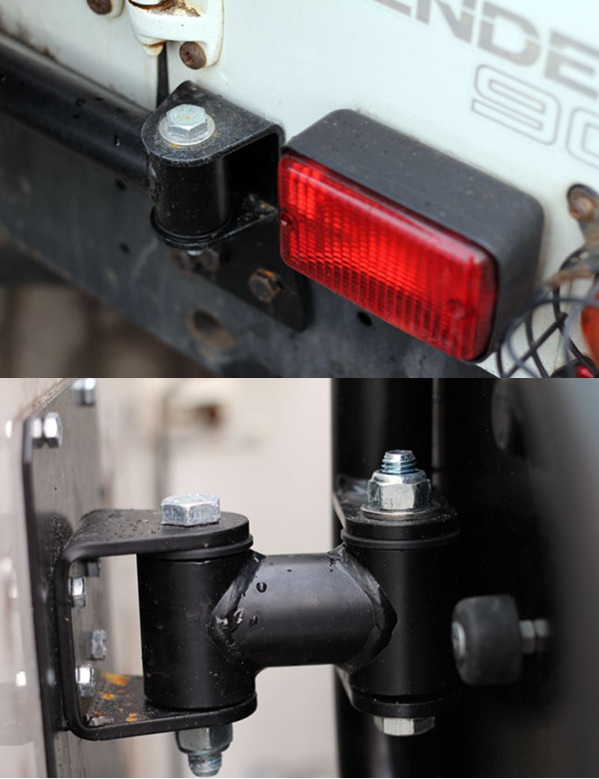
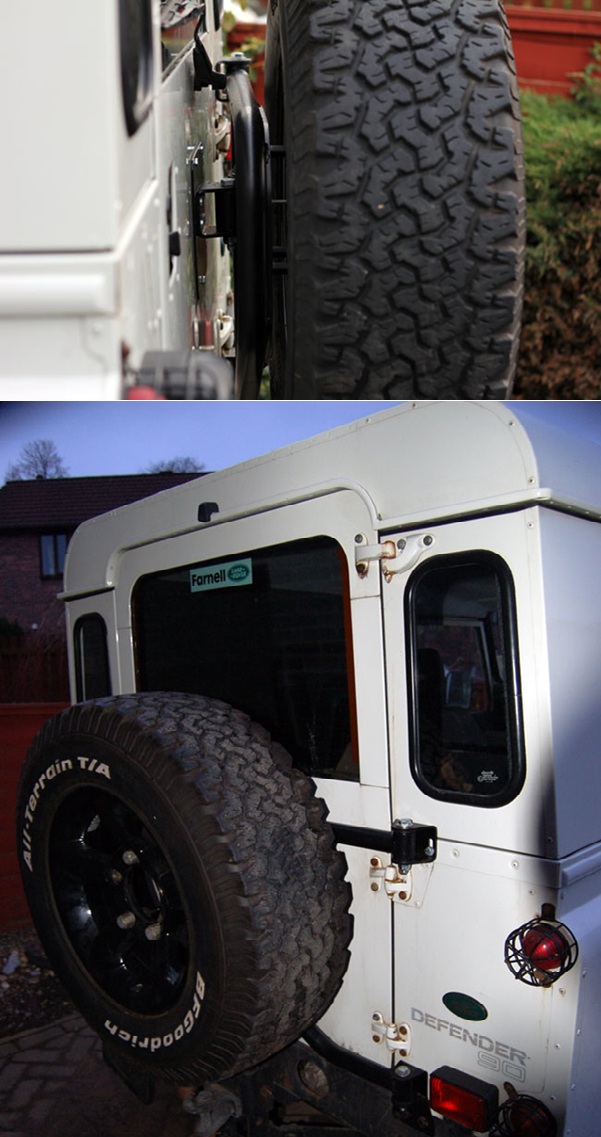
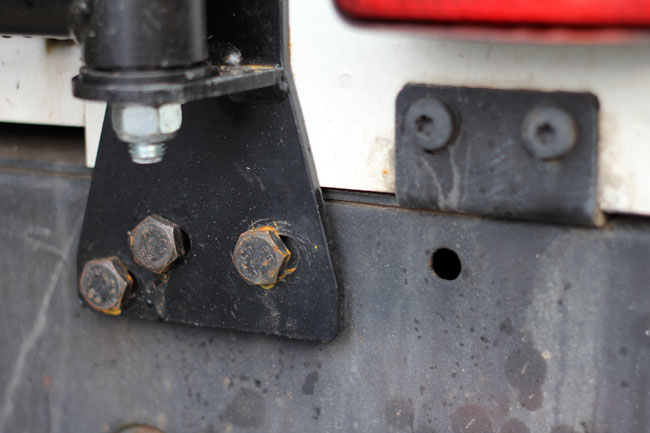
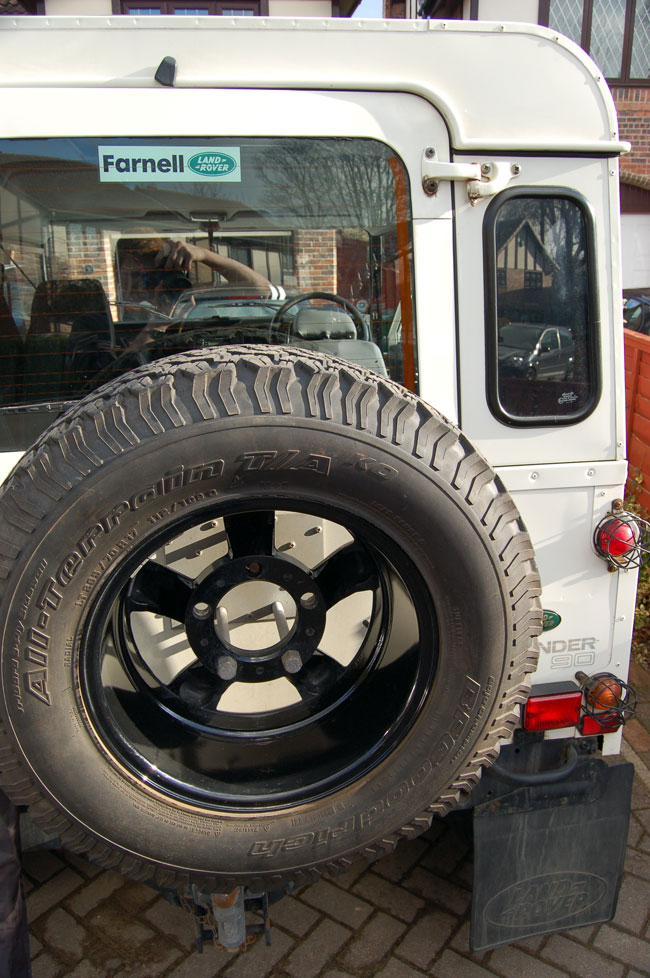
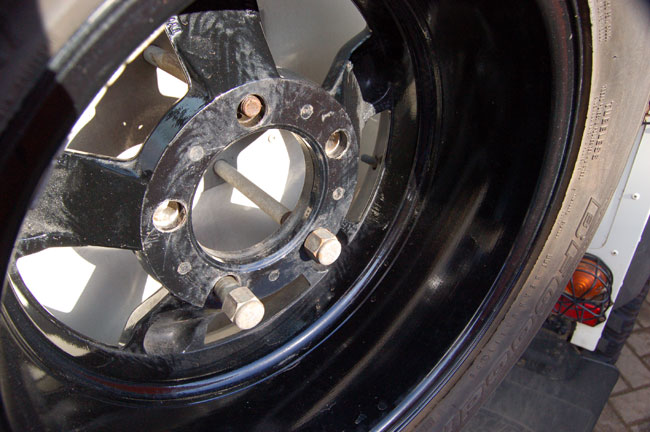
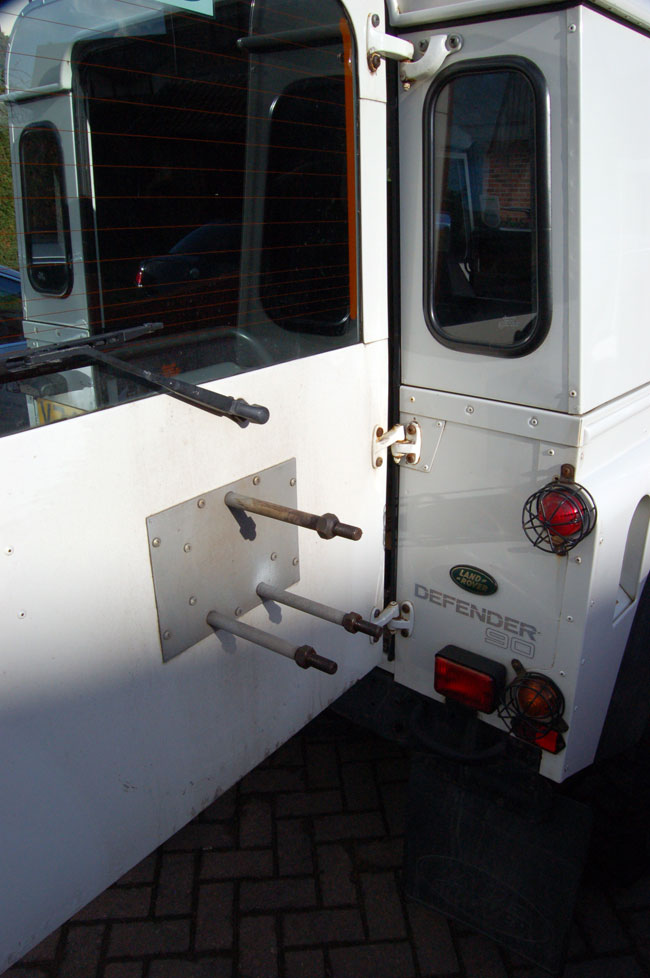
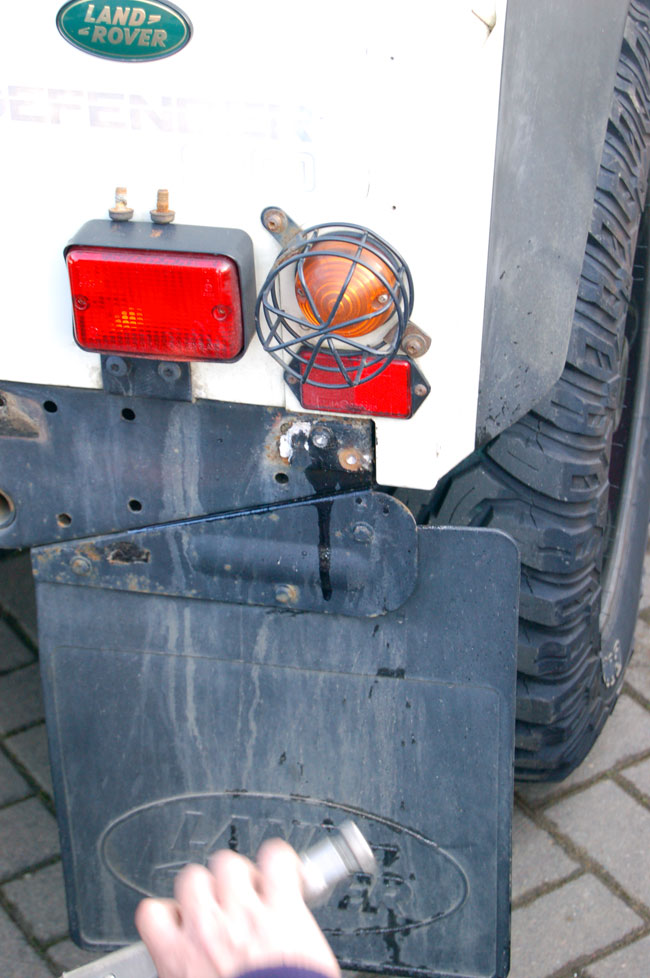
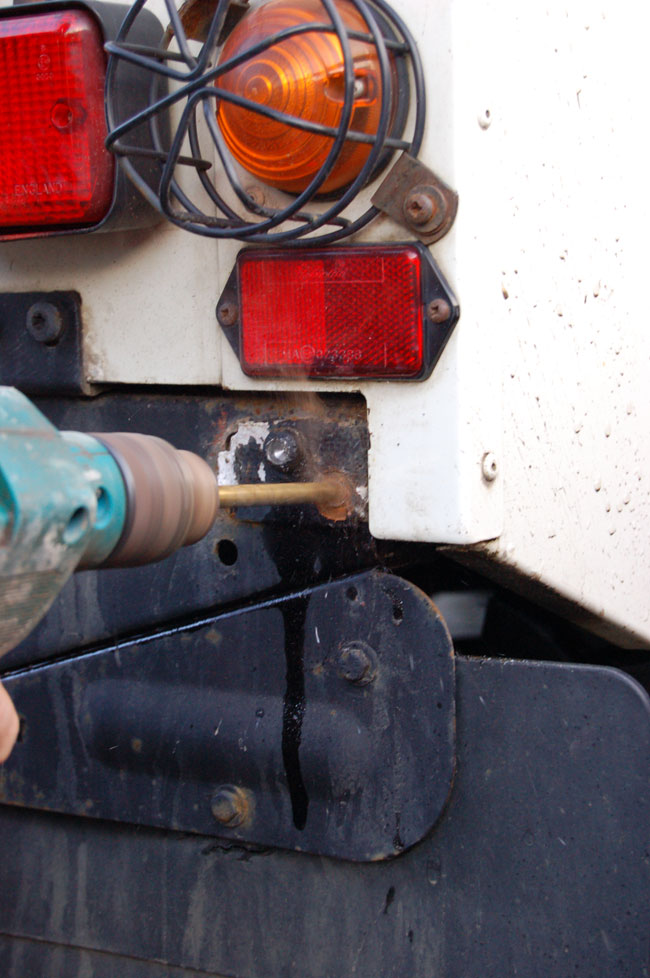
What's included? Included in the rather large box is the swing away arm piece, the two body / chassis hinged brackets, the bump-stop (which is a critical piece), mounts for the door and strengthening plates, as well as all nuts, bolts and washers required to complete assembly. There's also a fitting guide, which we'll come onto shortly. All parts were shrink wrapped and accounted for. Make sure to give the packet a brief inspection first, just in case any parts are missing, as Bearmach state if the rear seal of the package is broken, they cannot accept missing parts requests. All-in-all, it's a very complete package. Fitting The old, standard Land Rover wheel holder Bottom right, note the handle that needs removing from the cross member. Fitting parts to your Land Rover is the ultimate weekend pleasure (or toil for those less mechanically inclined). We happen to be members of the former, so the thought of fitting parts to the Defender is exciting to say the least. Even in near zero degree temperatures and pouring rain, (which is not reflected in the photo taken before the rain) we set about modifying. Step 1: Lower Bracket First things first, the instructions tell you to mount the lower arm bracket to the chassis. This should be a pretty simple affair (it makes use of 3 holes already machined into the cross member). 2 of these are used for the rear Land Rover bumperette / handles, so these had to be removed first. The holes also have to be enlarged to 10mm, one of them was already at this diameter, so drilling those through took a matter of seconds.
You are then free to get the socket set out. Attaching these
bolts did take a bit of shuffling around as they are awkwardly placed and the
rear cross member has an interior wall that you have to contort your arm
around. Eventually we worked out a system of placing the nut on the rear side
of the cross member, then carefully sliding it along the surface till it was in
place. The gap here is so tight, tha\t in order to get your spanner in, you
need to start with the furthest bolt, then add each one in sequence. Our
spanner also happened to be just slightly too long and it was all too easy to
drop it, but balancing the other end on your thumb may help here. Anyway, after
several dropped nuts, into the gungy goo that collects inside the cross member,
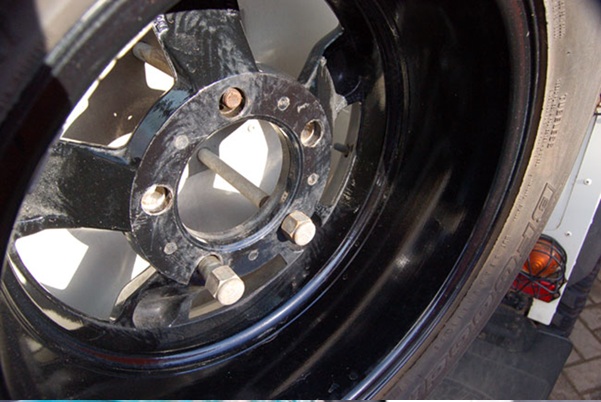
the rear bracket was in place. First things first, the wheel needs whipping off. Taking us to this. Part way through removing the screws (this took the longest
and we didn't even need these holes, but it looks a lot tidier and will mean we
can properly WaxOil this area when we get round to it) More drilling, after this we moved on to widening the 3
holes that actually needed for mounting the bracket to. These are opened up
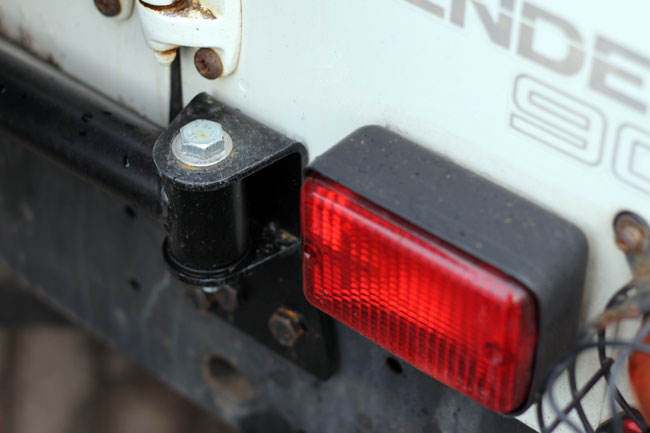
from 8mm to 10mm for the M10 bolts used. 2 Step 2: Top Bracket Our top bracket literally drilled straight through one of
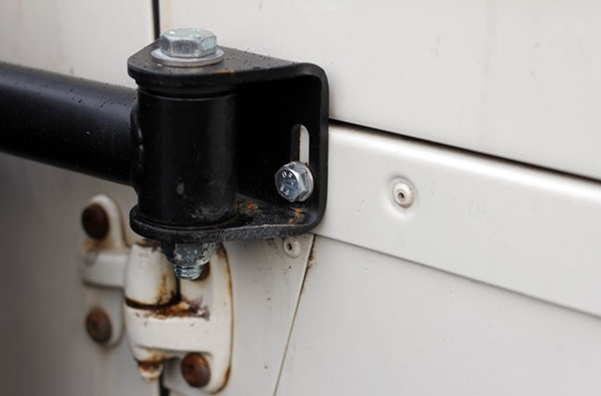
the body capping rivets (do triple check proper alignment though, the top and
lower hinges must be exactly vertically aligned). Now it's time to attach the arm to this piece, as you use
the positioning of the arm to ascertain the top mounts position. In our case,
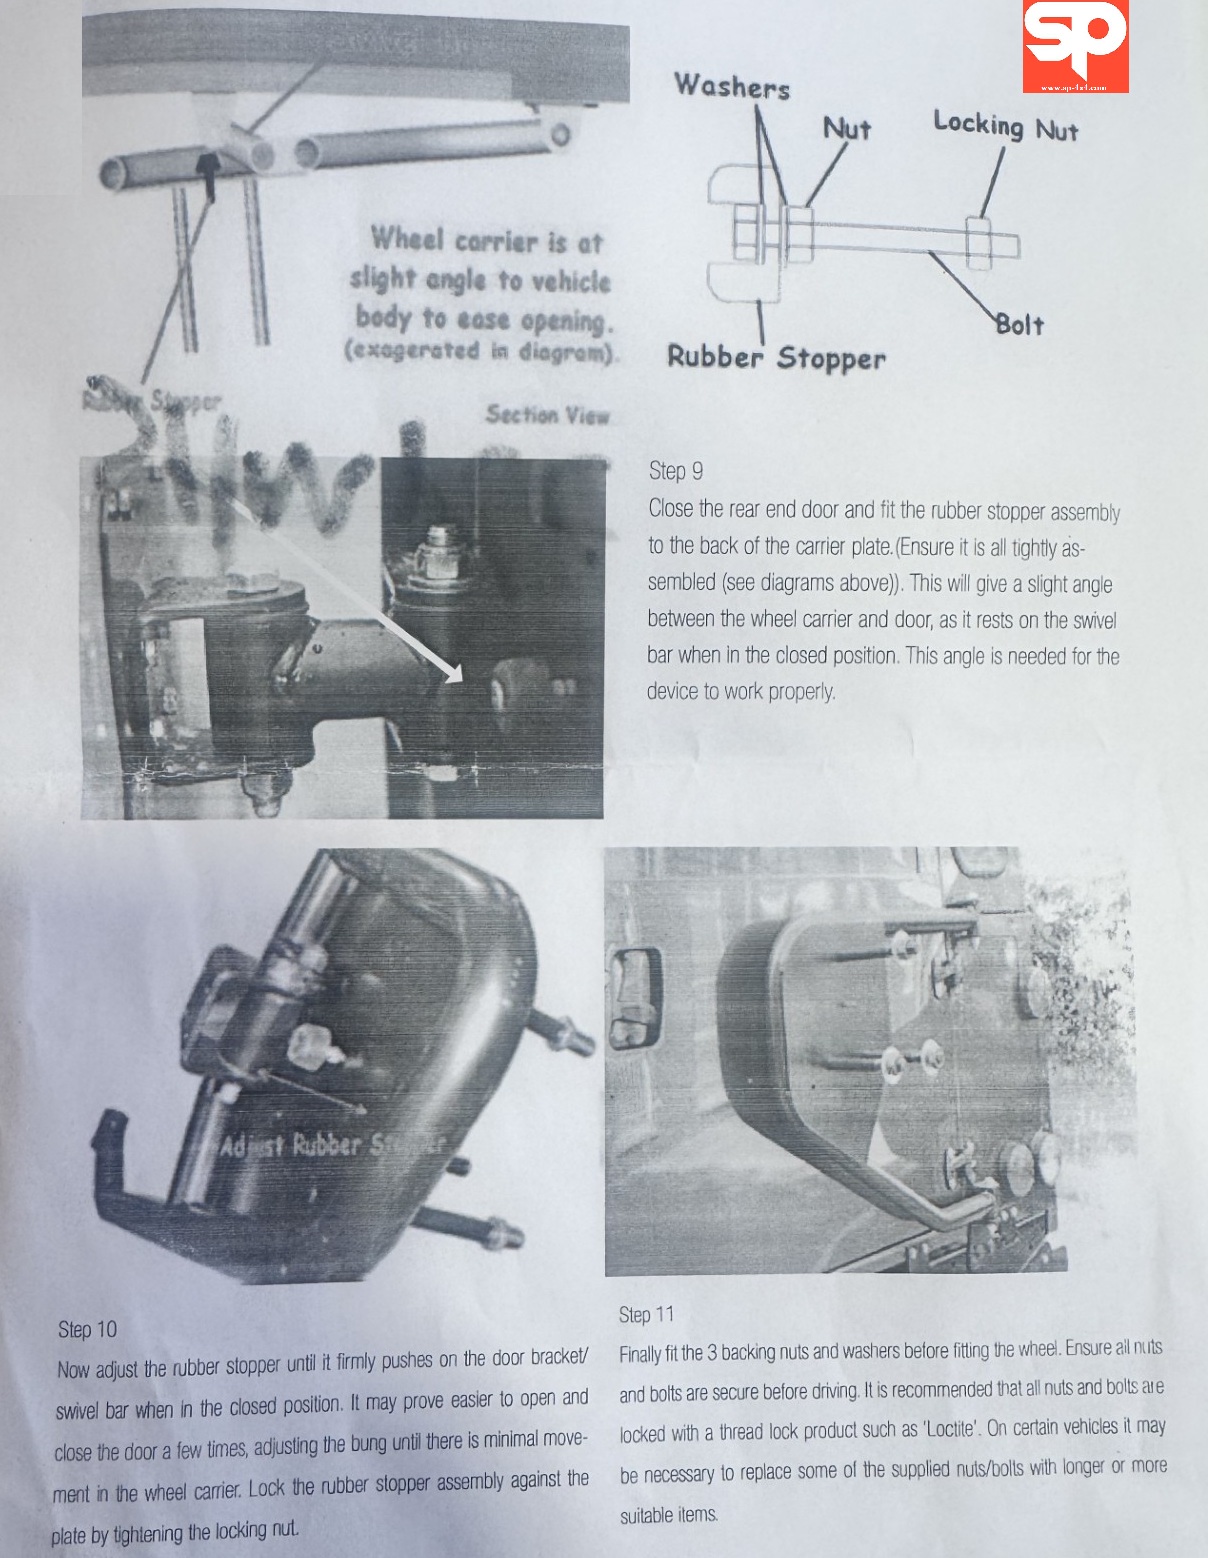
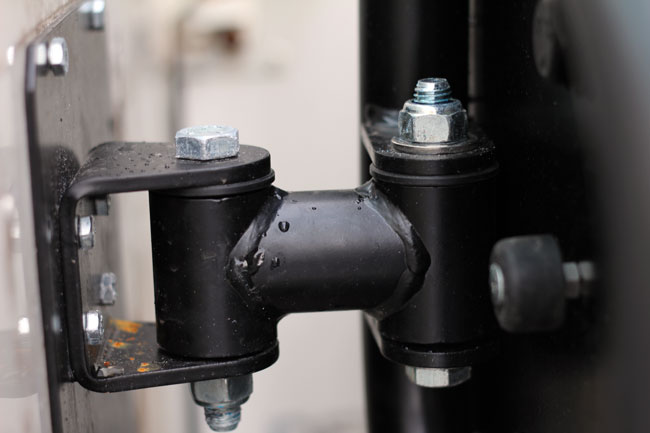
it actually ended up drilling through the body cap rivet. The bump stop can be seen here on the right nearest the
camera. This part is crucial for the operation of the arm. The arm
running centre is what takes up the slack between the door and arm as it opens
(and adjusts for slightly different opening arcs). Both brackets are adjustable, so do spend a little time
tweaking to get things just right. Once the top hinge is in place, it needs to
be vertically above the lower one, otherwise this can hamper the swingaway
effect. So far it's taken maybe 15 minutes, give or take thanks to the quirky
cross member. Until the arms are properly attached, it's a good idea to get a
pal to hold the arm while you put the bolts in, just in case it stretches or
strains the assembly. Once the top hinge is in, the manual says you can now let
it swing on it's own, which is handy and less cumbersome. The next step is to
remove the trim from within the cab (you may have already had to remove the
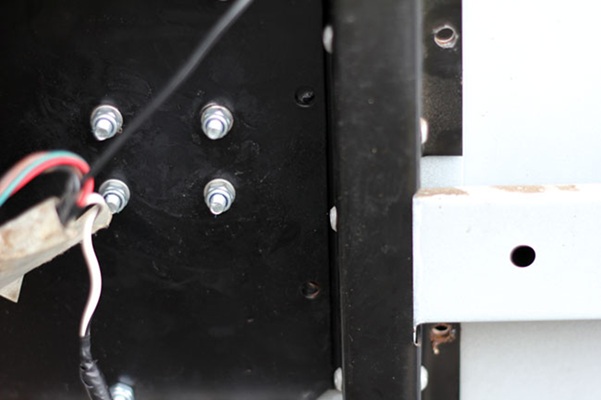
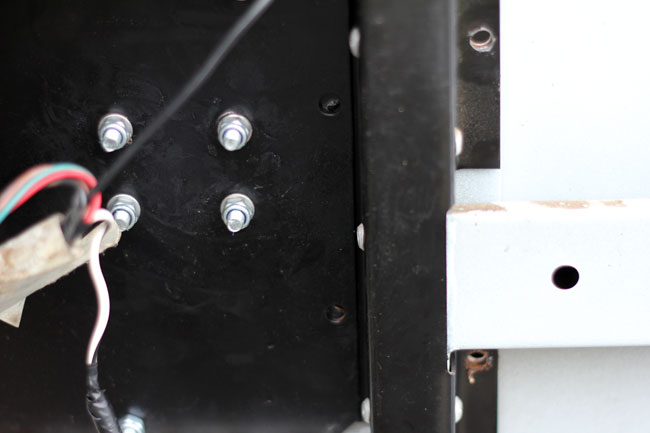
county spec trim from behind the rear quarter panel. Trim removed and the strengthening bracket bolted in
plac The entire rear door card / trim piece also needs to come
off, as you have a large strengthening plate to fit here. The manual is quite
vague about how to go about this, so through a process of experimenting, we
mounted ours as follows. We attached the short arm that mounts to the swing arm
and the door plate. We also bolted on the plate mount and hinge, then applied
some of that horrible yellow grease to the mount. We extended the whole
assembly so that it laid as flat as possible (it will have a slight angle away
from the car when viewed from above according to instructions). Then we simply
pressed down. This gave us a clear marker for our first hole, which was
drilled (after bolting the strengthening base plate on). Once one hole was in,
you can use the mounts other bolt holes to drill through. We did have a
horrible moment when we then threw the wheel on, only to realize it wouldn't
open! That was because we forgot to fit the bump stop, which quite literally
makes the whole assembly work. It takes up the slack in the trailing arm and
stops the wheel from flapping backwards and forwards. Getting this to work just
right took a few moments, but once it was in place, the whole assembly swings
perfectly. It definitely makes the door a lot easier to open too, which is a
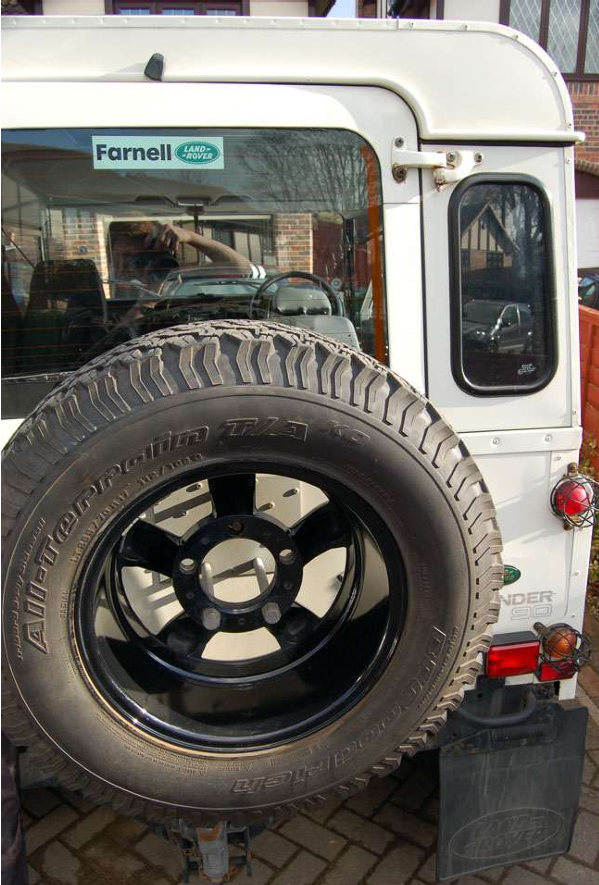
plus as some smaller passengers found this hard if parked pointing down hill. Fitted! We'll make sure to post more detailed
pics tomorrow! More pics added! The whole thing opens and shuts perfectly now and you find
yourself grimacing less when off-roading or hitting pot holes as the rear door
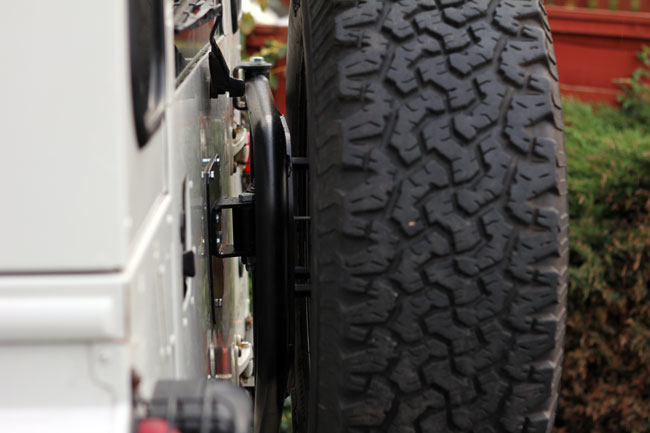
used to actually wobble about. Fitting the wheel to a proper carrier is much
safer for pedestrians and fellow road users, it looks so much better and is
very hear-wearing. The only problem you may have is the wheel seems to have
raised up a few inches compared to the Land Rover door carrier, however, if you
didn't have this fitted before, you'd probably never notice. A highly
recommended addition for any Land Rover owner looking for a secure and smart
place to store their spares. |