
|
JWP1206 - Bonnet Strut Fitting Instructions
The kit is designed to fit 90s & defenders, both
'right and' left' hand drive, versions. The instructions are from an install on a 300 tdi 90 which
was standard except, for the winch control block on the passenger wing. The
fitting is a similar, process on all other variants. Tools you will need, marker pen, tape measure, electric
drill, 1 × 5мм - 5.5мm + 1 x 6mm HSS drill bit, 10mm 1 1mm 13mm spanners &
sockets, ratchet - best 1/4 or 3/8 drive, pliers. Stanley knife.
Trim the bonnet matting to suit and allow re-fitting with a
sharp blade. After fitment and final checks On
a td5 the brackets should fit the factory slots in the under bonnet covering –
some minor retrimming maybe required. You can fit the ball ends now, it is easier to do this first
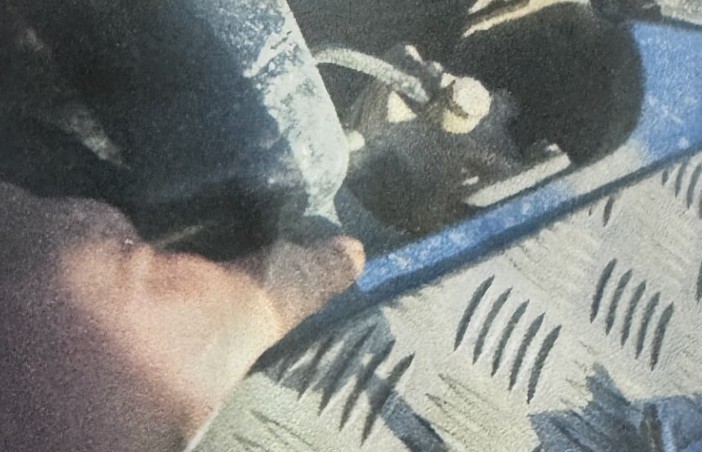
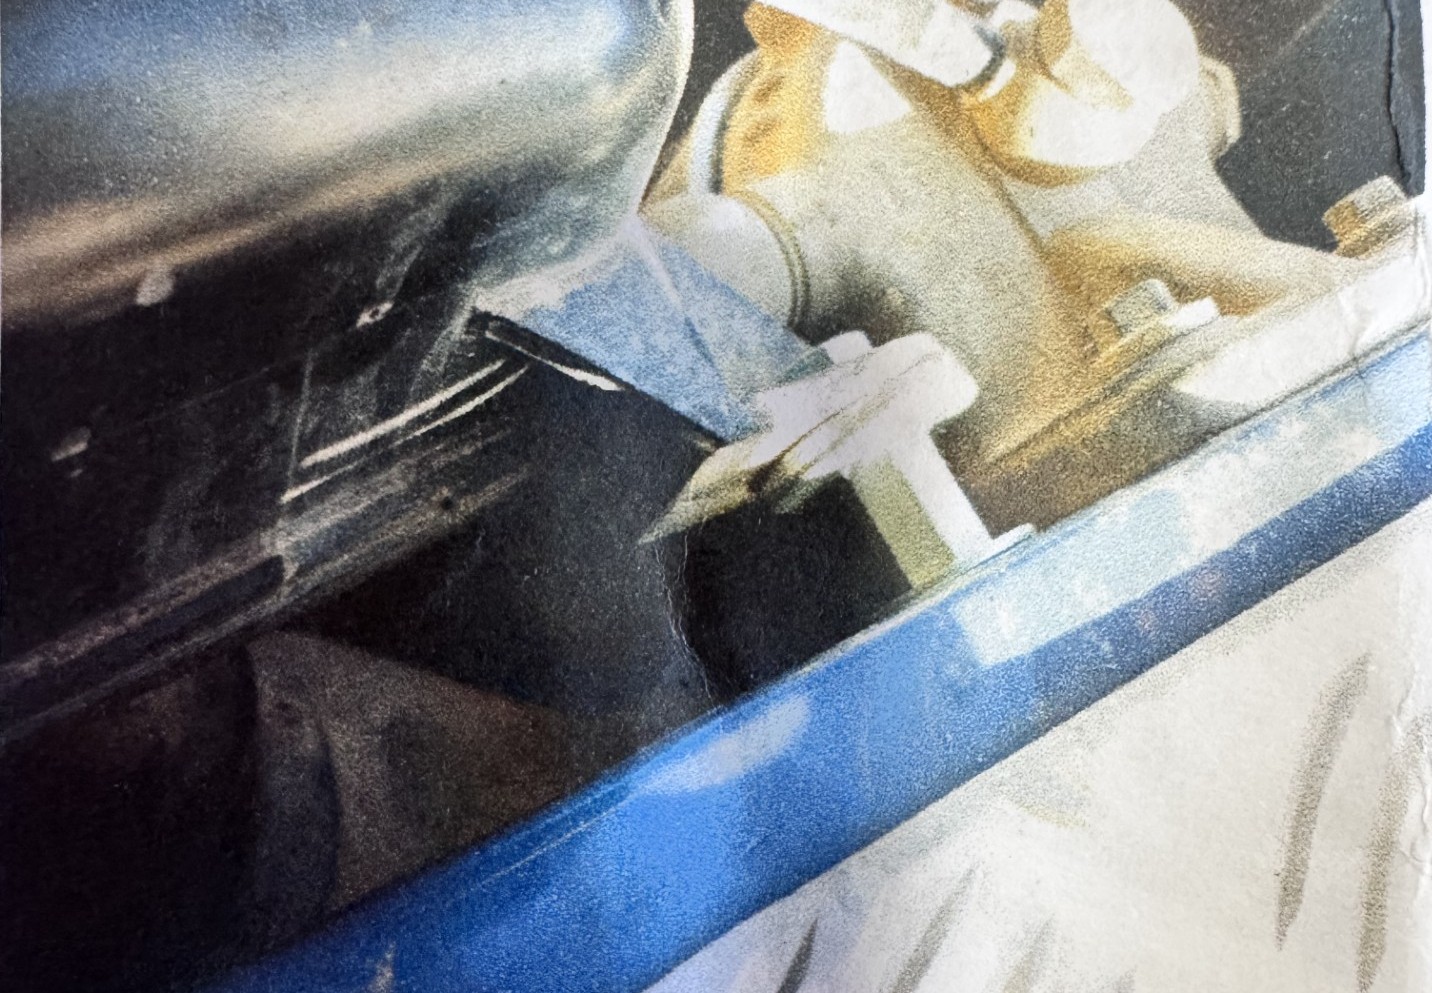
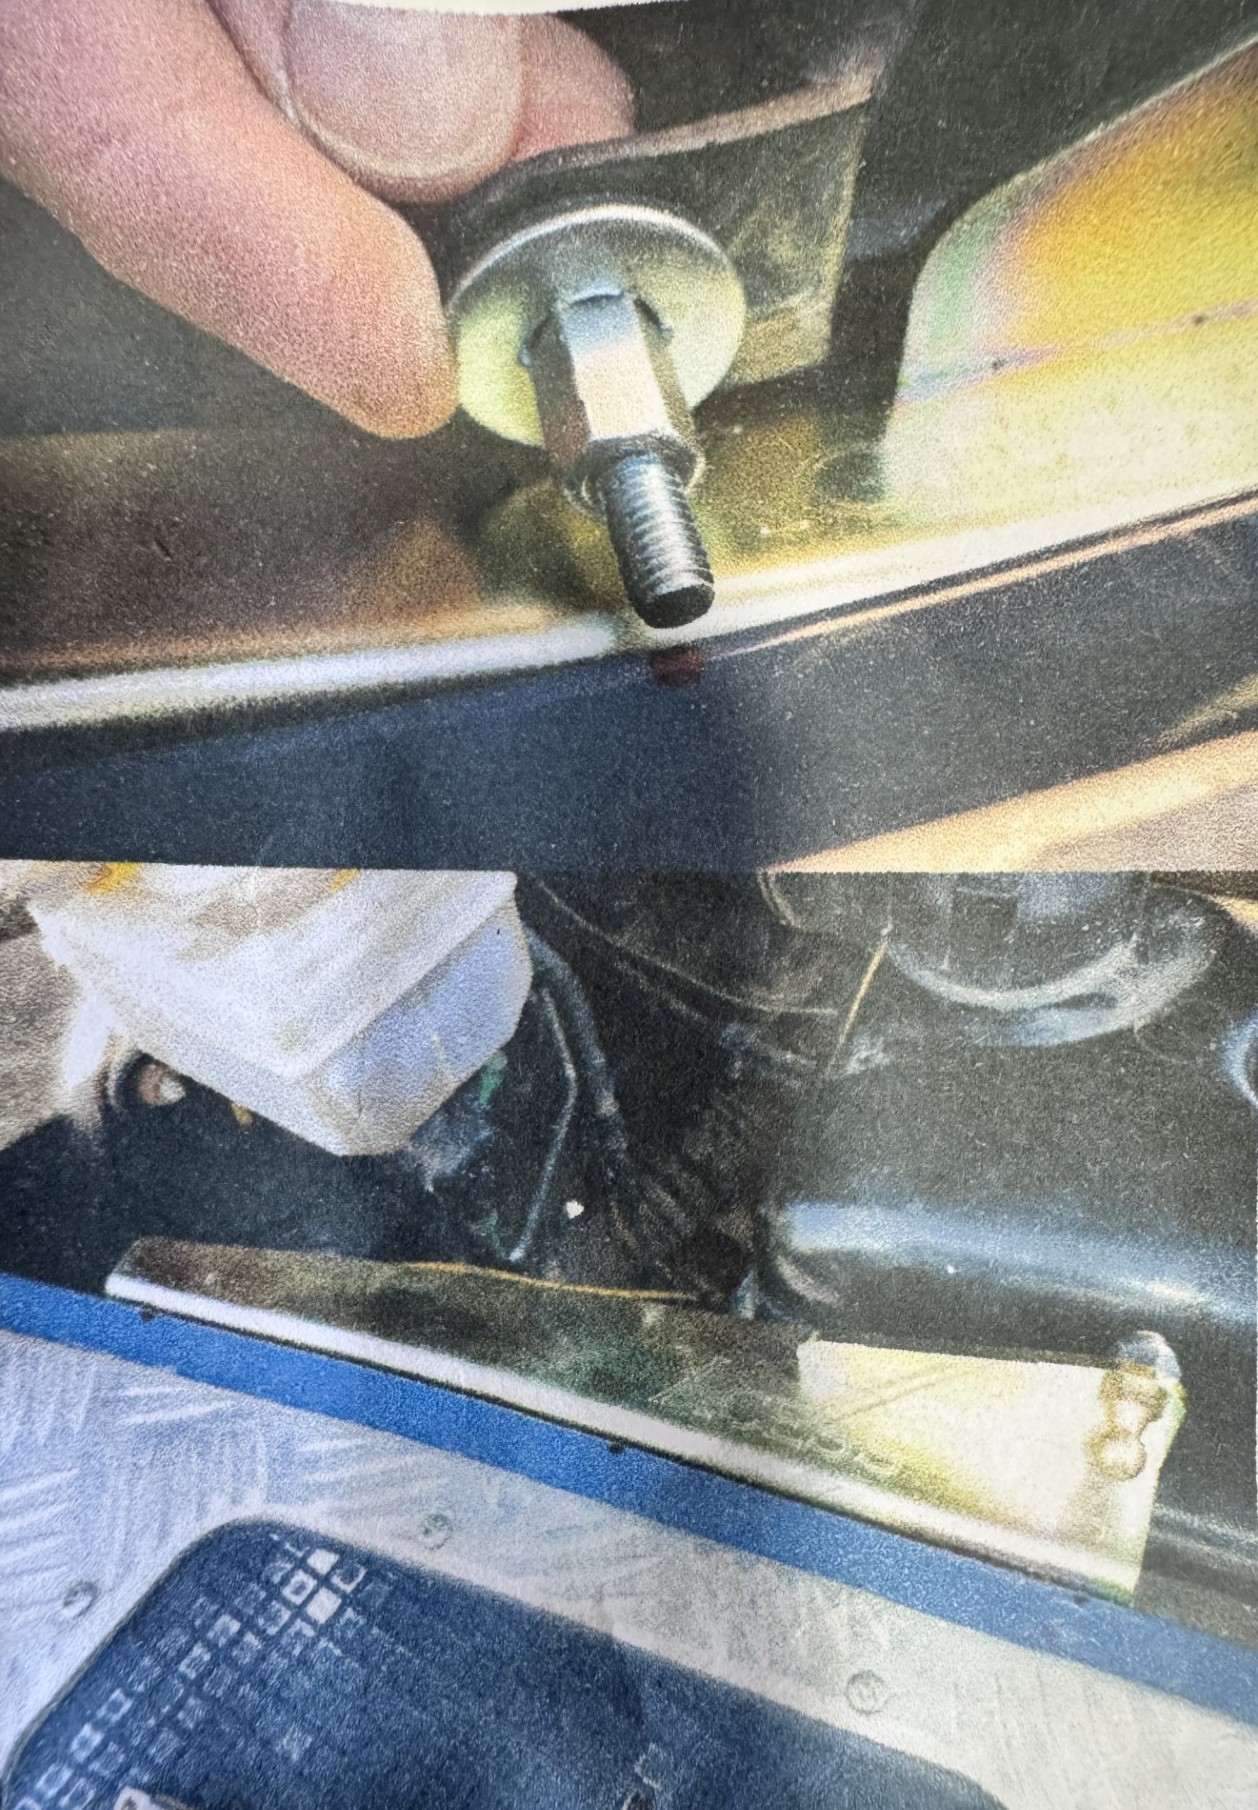
before mounting the plates. Shown above are the 2 x bolts to be removed,, 1 x is captive
the other is not. The kit includes longer, bolts (as you are adding 3mm with
the new bracket). Swap the existing bolts for those in the kit slightly longer,
the m6 x 35 are for the header tank and the, spacers. Add the 2 x ball ends and
nylocs to the plates and tighten (no washers) The slots allow fine tuning should you find that the bonnet
is not, being lifted " squarely" on opening. The 3rd hole at the
front of the plates are only to be drilled and fixed after finishing
installation and any fine adjustments. Once ok drill and place m6 bolts /
washers and nuts supplied This will stop any adjustments within the slots) The header tank can be pushed / moved, outwards to allow
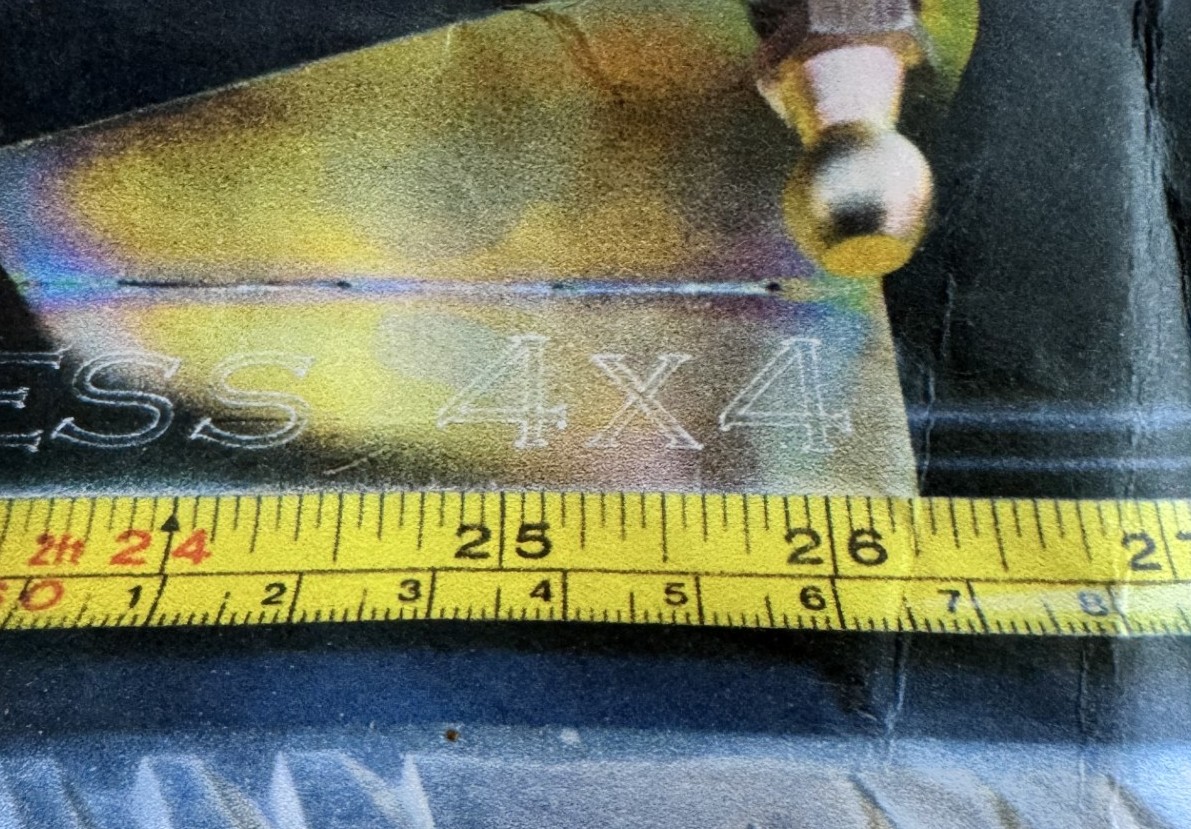
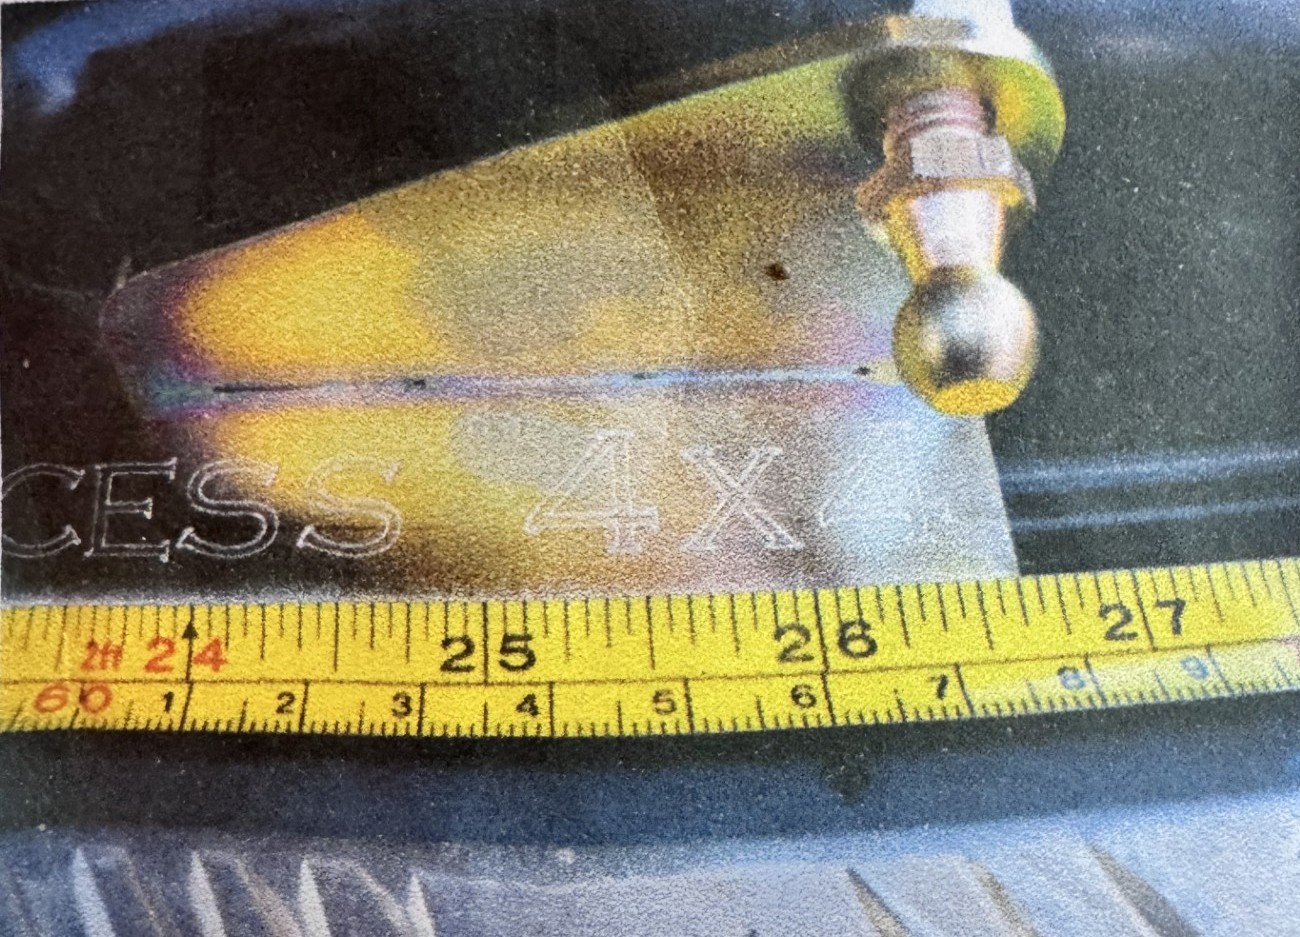
fitment of the drivers, wing plate. Drivers Side - Bonnet Mount Measure up, towards the front of the bonnet and place a
reference mark at, 14.5 inches on the bonnets underneath return face. This mark is for the centre hole, of the bonnet mounting
plate to locate, on to the bonnet return. On td5s this may even line up with
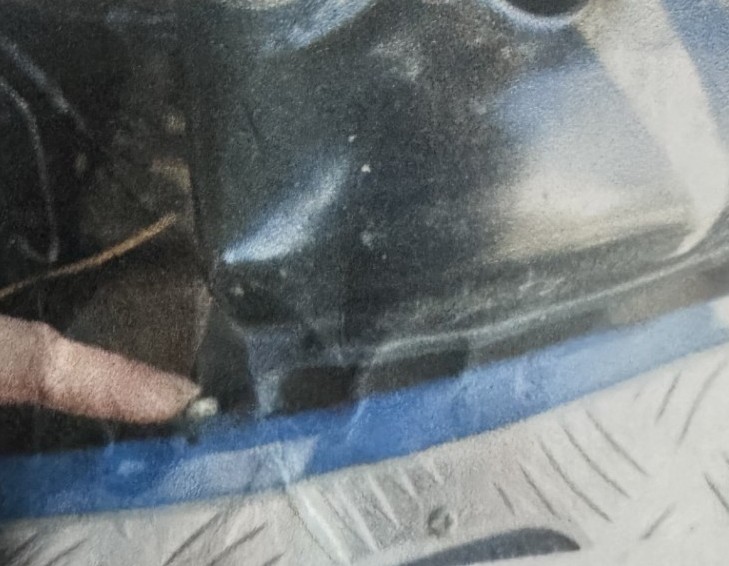
the existing rivets. Place the bonnet mounting plate so the centre hole is on the
mark, then drill a, 5mm - 5.5mm hole through the plate /, through the wing. Try to have the hole slightly to the inner edge of the
return. For example, slightly off centre off towards the engine. This
places the bracket slightly inboard of the bonnet edge when closed. But also
give the additional clearance for the rams when closing. This completes the drivers side, but don’t put the ram on.
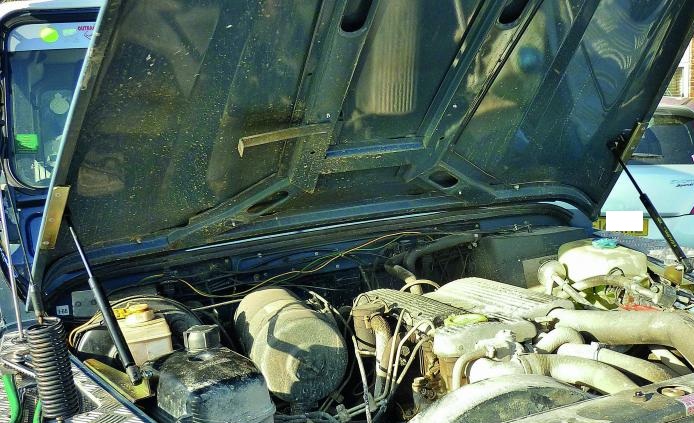
The scissor prop (as shown here) will require lifting up to allow it to close.
The bonnet rams will be fully extended. You now need to do the passenger side, which is very similar
to the process just followed. Measure from the rear of the wing / bulkhead as before,
remove the bolts as in the photo, you will find this gives better access to
sometimes remove the washer bottle itself from its mounting. Once you’re happy with the operation of the lifting, drill
through and add the final 3rd bolts to the wing mounting plates.
This stops any adjustments within the slots. In the same way when closing the bonnet, it is best to hold
both sides of the bonnet when pulling down rather than just one corner. |



.jpg)
.jpg)
.jpg)
.jpg)